Archive | DIY RSS feed for this section

Overhauled Pantry Organization

28 Apr

Whew!

That almost did me in!

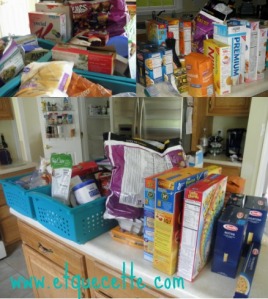
When I decided to reorganize my pantry, I had no idea it would be such a big job.  I thought, “this should take me about an hour”.  WRONG!

I think my food multiplied every time I turned to put something on the island.  For reals.

As you know, in my last post  showing my pantry before I started on this project, I was on a quest to find containers.  When I’m at the store, I always look at storage containers.  It’s like I have an addiction.  I hardly ever buy. I just can’t seem to bring myself to spend $8-15 for a food container and upwards of $25 for household storage containers.   Are you the same way?  Or am I just cheap?  I like to call it thrifty.  🙂

I think I went a little crazy.

I convinced the hubs to go out early this morning to a neighborhood garage sale just up the road.  He’s so sweet.

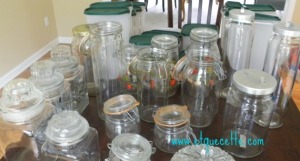
I found a few containers.

Aren’t they so purty?

But I didn’t think it was quite enough.  So, I batted my eyelashes and mentioned that I thought there was another community sale a couple of miles away.  Okay.  Maybe it was 5.  He’s such a good sport.
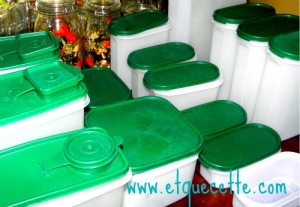
And then I hit the mother load.  I couldn’t help it.

 My name is Karin and I’m a container addict.  🙂

You should see how many I have from my classroom.  But that’s another post.

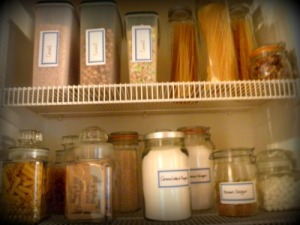
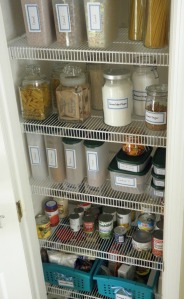
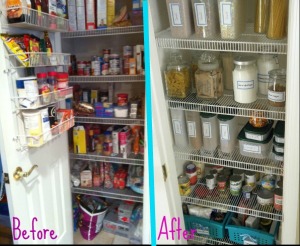
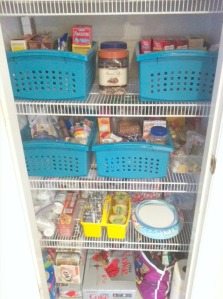
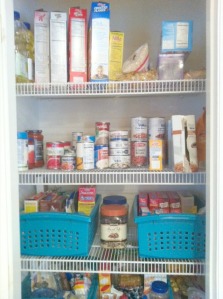
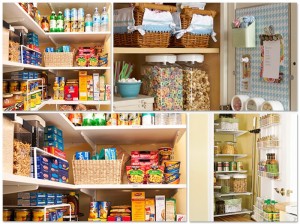
And I’m happy to say that after making a HUGE bag full of trash, it’s done.

It’s gorgeous.  It’s mine.

I thought at first that I would only use the same type of containers but I just couldn’t pass up the Tupperware.  So I made it work.
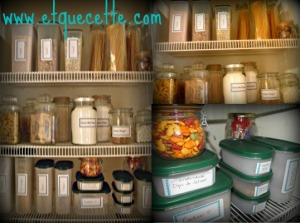
I think it looks a little vintage.  I like vintage.  I even bought a bunch of vintage buttons and brooches today.  Love them.

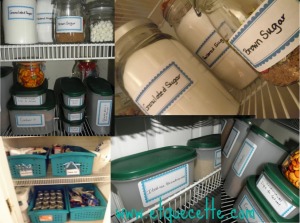
I used labels found at BHG and hung tags from the baskets I used at the bottom of the pantry.

They have like a bazillion.  Really.  Why reinvent the wheel?  I love theirs.

Let’s face it.  Some things just don’t fit in a jar.  But I think it still looks good.

What do you think?  Are you ready for a pantry overhaul?

Pantry Love <3

27 Apr

Have you seen all the beautifully organized pantries lately?

The Social Home

They seem to be all over Pinterest and blogland.

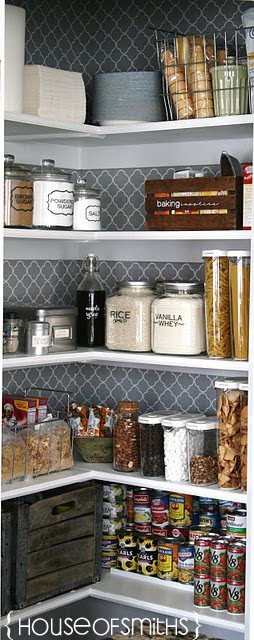
The House of Smiths

 I have to admit that I love looking at them ALL.  I could sit in my chair with my iPad and Google images of pantry organization and look at them for longer than I should.

I’m sure my hubby would like to have clean clothes to take on his business trip coming up in a couple of days.  But, I just. can’t. stop. looking at them!

I figured I better make this “research” pay off. So off I go to the store to search for just the right organizing containers to get the job done.

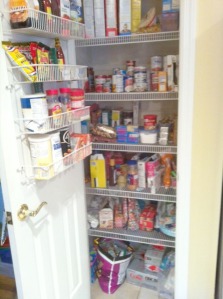
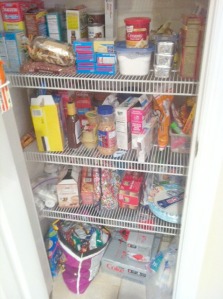
First I looked at my horribly disorganized pantry.  Ugh.  Does yours look like this?

Who can be inspired to cook when looking at this mess?

Then, I tried to semi-organize it with a few bins a couple of weeks ago.

FAIL.

Finally, I made a list of all the things  I need.

  • air-tight containers for cereals
  • air-tight containers for staples like: sugars, flour, pastas, rice
  • bins for snacks, bulk items, canned goods
  • labels  –  round, rectangular, fun

I’m sure I’ll get to the store and see some other goodies I can’t live without for my pantry overhaul.

Muuaaahhhhaaa! 🙂

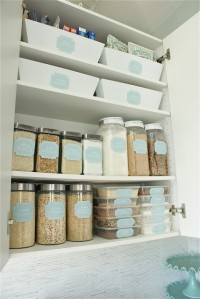
Come back tomorrow to see the big reveal!  You will be sooo surprised how much it cost me!!  I hope it looks as good as these:

Better Homes and Garden

Shabby Chiffon Couture Headband Tutorial

21 Apr

Did you get a chance to see the stunning hairband I put together the other day?

It was totally EASY to make!

Don’t believe me?  Okay.  It did take about 30 minutes from start to finish but once you’ve made one of these beauties, you’ll be making them in 1/2 the time! AND, the steps were simple.

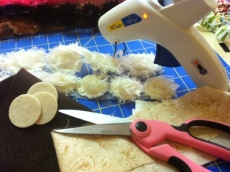
First, get your supplies together.  You’ll need:

  • a glue gun.   I use one that has high and low temp and a very fine nozzle so that I can put the glue in the exact place I need.  It also allows me to as little or as much as I need too.  Which comes in handy when you need to do a tiny touch-up. Of course, I get my project right the first time so touch-ups aren’t needed! 🙂
  • a strip of fabric in your choice of color.  For this project, I used 36″ for the larger rose and 18′ for the smaller one.
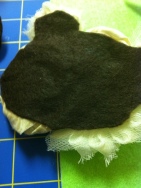
  • felt for the back of the flowers.  It can be purchased from any craft store.  Make sure to get the softer sheets instead of the stiffer ones.  You’ll want this to match the color of your fabric like the small circles in the photo.  I used black today only for demonstration purposes as it’s easier for you to see.  I’m sweet like that!
  • Chiffon flowers in different sizes.  I got mine from here.
  • Scissors
  • Fold over elastic headband.  I got these from here.
  • Patience!

20120421-091825.jpg

Now that you’ve gotten your supplies together, let’s get down to business.

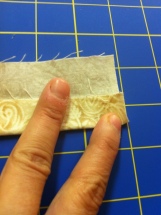
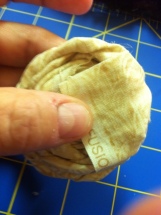
Fold your 2 1/2 to 3″ wide fabric into thirds.  You’ll want do this because most fabrics are one-sided and when you “turn” the rose it will continue to show the right side of the fabric.

20120421-091852.jpg

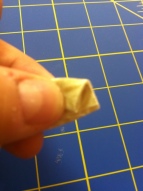
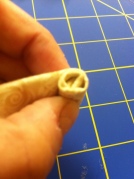
Once folded into thirds, take the end of the fabric and create a pointed tip by folding both the bottom and top into each other.

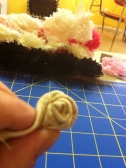
This will create a bud-like center.  Roll this center 3-4 times.  It’s a good idea to put a dab of glue here to help hold it in place.

20120421-091924.jpg                                 20120421-091953.jpg

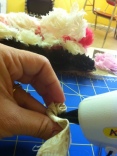
Now take the next section of the fabric from the bottom with your thumb and forefinger and fold towards you.  Do this 2 times.

20120421-092015.jpg

After each 2nd turn, put a small amount of glue being careful to “tuck” it in a spot that won’t be visible.

20120421-092027.jpg

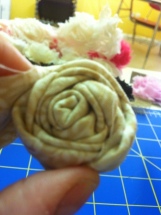
Keep turning, folding and glueing until you have a small tail of fabric at the end.  Flip the flower over and glue the tail to the underneath of the flower.  No one will see this because it will be covered in felt.

20120421-092115.jpg                      20120421-092123.jpg

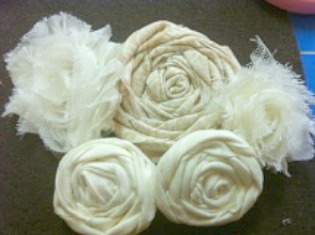
Lay it down in a pattern that you like.  This is when you’ll add the chiffon flowers or flowers of your choice.  REMEMBER not to glue at this point until you are completely satisfied with how it looks.  Now that you LOVE it, glue it down onto your felt piece.  I overlapped my flowers slightly on top of each other to create some depth.

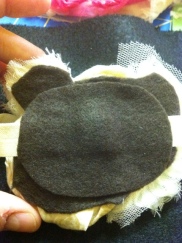
Back cut the felt so that it’s not visible when being worn.

20120421-092339.jpg

At this time you can add a larger clip but I prefer a headband since it is a larger, heavier piece.  Be sure to look at it from the front to determine how you want it to lay on the band before gluing.  Add another piece of felt to cover the band.

20120421-092410.jpg

Ta-dah! and Oh! La’ La’!!

Have you ever made embellished headbands?  I’d love to see what you’ve done so leave a comment and link us back to your creation.

Enjoy~

K.

Oh La’ La’ ~ Couture Headbands

19 Apr

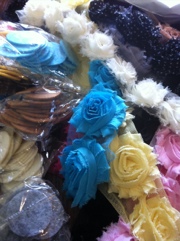
Remember when I showed you these?

Well, I promised that if you came back that I’d show you what I had created

with these shabby chic little pretties.

So today, I sat down and made a few things to whet your appetite for the coming tutorial on how to make these

lovely hairbands, headbands. clips, hair accessories,

whatever you choose to call them.

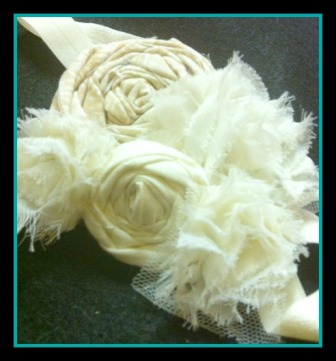
Isn’t it gorgeous?

With the vintage fabric hand-rolled flowers

and those delicate, shabby chic flowers placed so perfectly together.

I just love it!  It would be so beautiful on a baby, in a bride’s hair,

or for a vintage inspired accessory.

It’s permanently affixed to a super-soft headband hand-made from fold over elastic

so it will never leave a mark!!  Gotta love that!

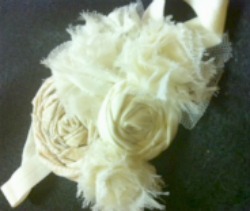
One more look~

~

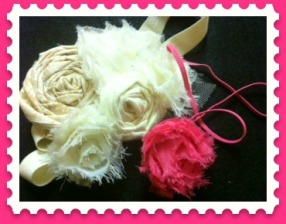
 She has a little friend!  Isn’t she cute??

Tell me what you think.  Do you like this couture look?

I know I do!  Oh la’ la’!!

What type of hair accessory is your favorite for you or your little one?

Semi-Homemade Teacher Appreciation Gifts

18 Apr

So a couple of days ago, my daughter brought home a letter from the room mother of her class.

It was a week-long list of what they would like for the parents and students to do to show our 2 co-teachers a little appreciation for all the hard work they do.

Believe me, teacher‘s do really appreciate being recognized.  I know, I’ve been an elementary teacher for years and when a sweet face comes in with a flower, some candy or even just a card, it makes us feel…well, fuzzy and warm inside.

So when I got this letter, I knew I had to put together a post about all the great ideas I’ve come across.

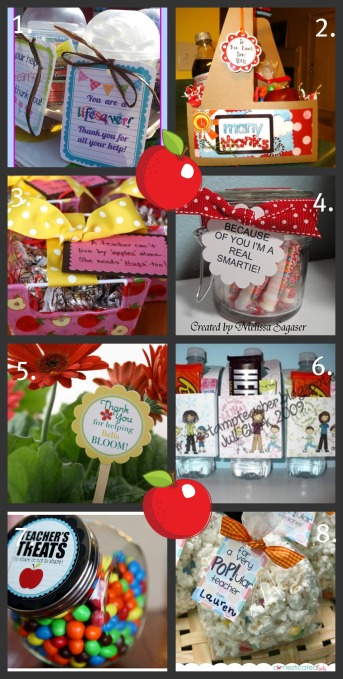
Simply click on the links below to go right to these genius ladies who thought them up!

1. You’re a Lifesaver 

2.  Many Thanks!

3.  Hugs

4.  Smartie 

5.  Bloom

6.  A Drink and a Treat

7.  Teacher Treats

8.  Popular Teacher

Now go make a teacher feel awesome!

I <3 Chiffon Flowers

17 Apr

Just LOOK at these gorgeous little chiffon flowers I just received in the mail!!  I got them from here.

 I’ve been anxiously awaiting these for the last week. I can’t wait to get started on a few hair accessories I’ve been creating in my mind.

Come back soon to see what I come up with! There may even be a tutorial to follow!